Browns; how to color HAIR
15-06-2022
Using Earth-Tones to Color Human Features
Today’s Feature: HAIR!

In this blog, we’ll be showing you how to color hair! There are so many different hair textures, lengths, and colors to choose from, so in today’s blog, we’ll just be going over how to color some of the basic hair types. However, feel free to deviate from the natural colors we show in this blog and experiment with blues, violets, or any other hair color you want! And with that, let’s get started with our template below!

This template is composed of 9 different hair types that vary in length, style, and texture. These are meant to be a starting point for artists looking to practice their coloring and bypass the drawing process. However, if you would like to draw your own hair styles, download and print the template below on cardstock or thick marker paper and create whatever styles you want!


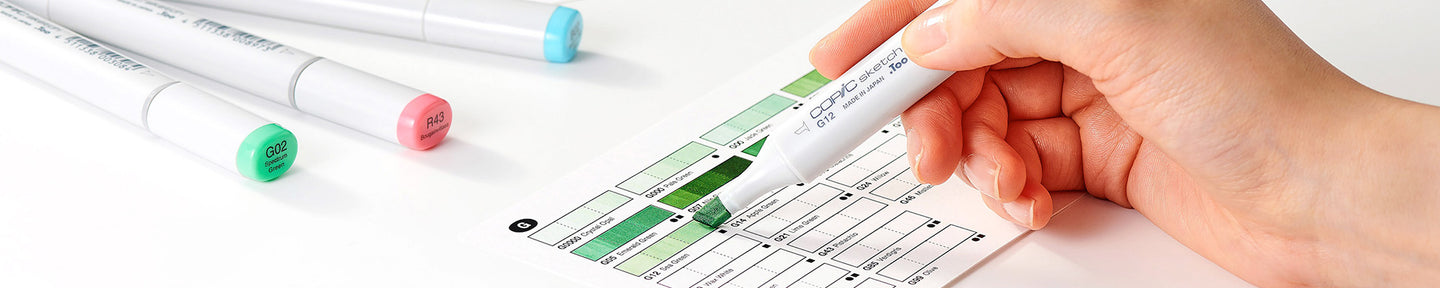
Next, before we begin to color each hair type, we recommend first swatching out your colors on a separate sheet of paper, then placing your final color choices in the rectangles on the template. This will help you work out any color kinks you might have. With markers, you can’t erase a color once it’s on the paper, so you want to make sure you’ve got the combinations you’re looking for!

After you’ve chosen 3 or so colors for each hair style, it’s time to start the coloring process! What we recommend is starting off with your darkest color first. It may sound scary to start off with a dark color, but the reason we recommend this is because the lighter colors that will be used after them will lighten the dark color as they naturally blend together.

The next color you’ll want to add is the mid-tone color. This will lighten the blend of the darkest color and will start to make the hair look more realistic. Be sure to leave a little bit of space left for each hair type to add one final color, your lightest one!

Once you add the lightest color, the hair is completely filled in! You should see an obvious transition from the roots (closest to the scalp) to the ends of the hair, going from darker to lighter.

Now that you’ve added all 3 colors to each hair style, we recommend adding another layer of the dark, mid-tone, and light colors one more time. This will darken everything a bit more, but it will also result in more contrast. Once you’ve finished this final step of layering, your hair coloring is complete! If you want to add even more details, you can use colored pencils or pens on top of your Copic markers to add additional strands or highlights.
And with that, we wrap up this blog on how to color hair! Print out the sheet above at home on marker paper or premium cardstock and practice with as many Earth-Tone, Gray, Yellow, Red, etc. colors as you’d like!
Be sure to share your hair with us on social media using the hashtag #copicwithus and tag us @copic_official_us. We’d love to see your work!
—
In our next blog, we’ll be showing how to select skin tone colors and how those colors appear on the face. Until then!
Read More Articles
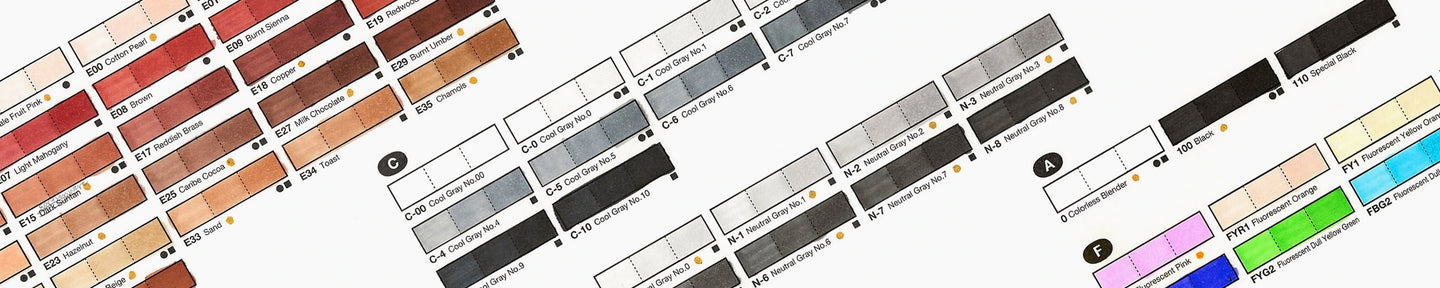
The “Other” Colors: Grays
Hello Copic readers! In our previous blog, we discussed the “other” Copic colors that aren’t found on a standard color wheel; specifica...
The “Other” Color Families
Earth-tones, Grays, Achromatic & Fluorescents Howdy Copic readers! In our previous blog, we discussed cool versus warm colors and ho...
Cool vs. Warm
Greetings Copic readers! In the first blog of 2024, we kicked off the year by showing how the Copic Color Swatch Cards can be extreme...
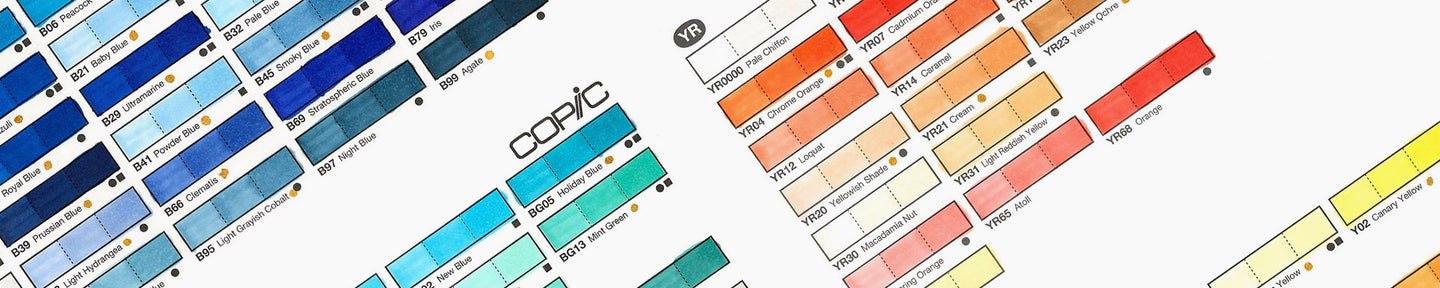
Must-Have, Copic Color Swatch Cards
The Must-Have Item for your Copic Toolkit Hello Copic readers! To kick off the new year, our Copic educational blogs are going back t...