


Nature, draw + outline flowers
30-07-2022
Nature Series: How to draw and outline…
Today’s Feature: Flowers!

In this new blog series, we’ll be taking our sketchbooks outside to draw and color the great outdoors! One of the most popular things to draw outside (and doodle) are flowers. Today, we’ll be showing how to draw 12 common flower shapes and how you can outline them with your Copic Multliliner (or Multiliner SP) pens! Without further ado, let’s get started with the first step below!

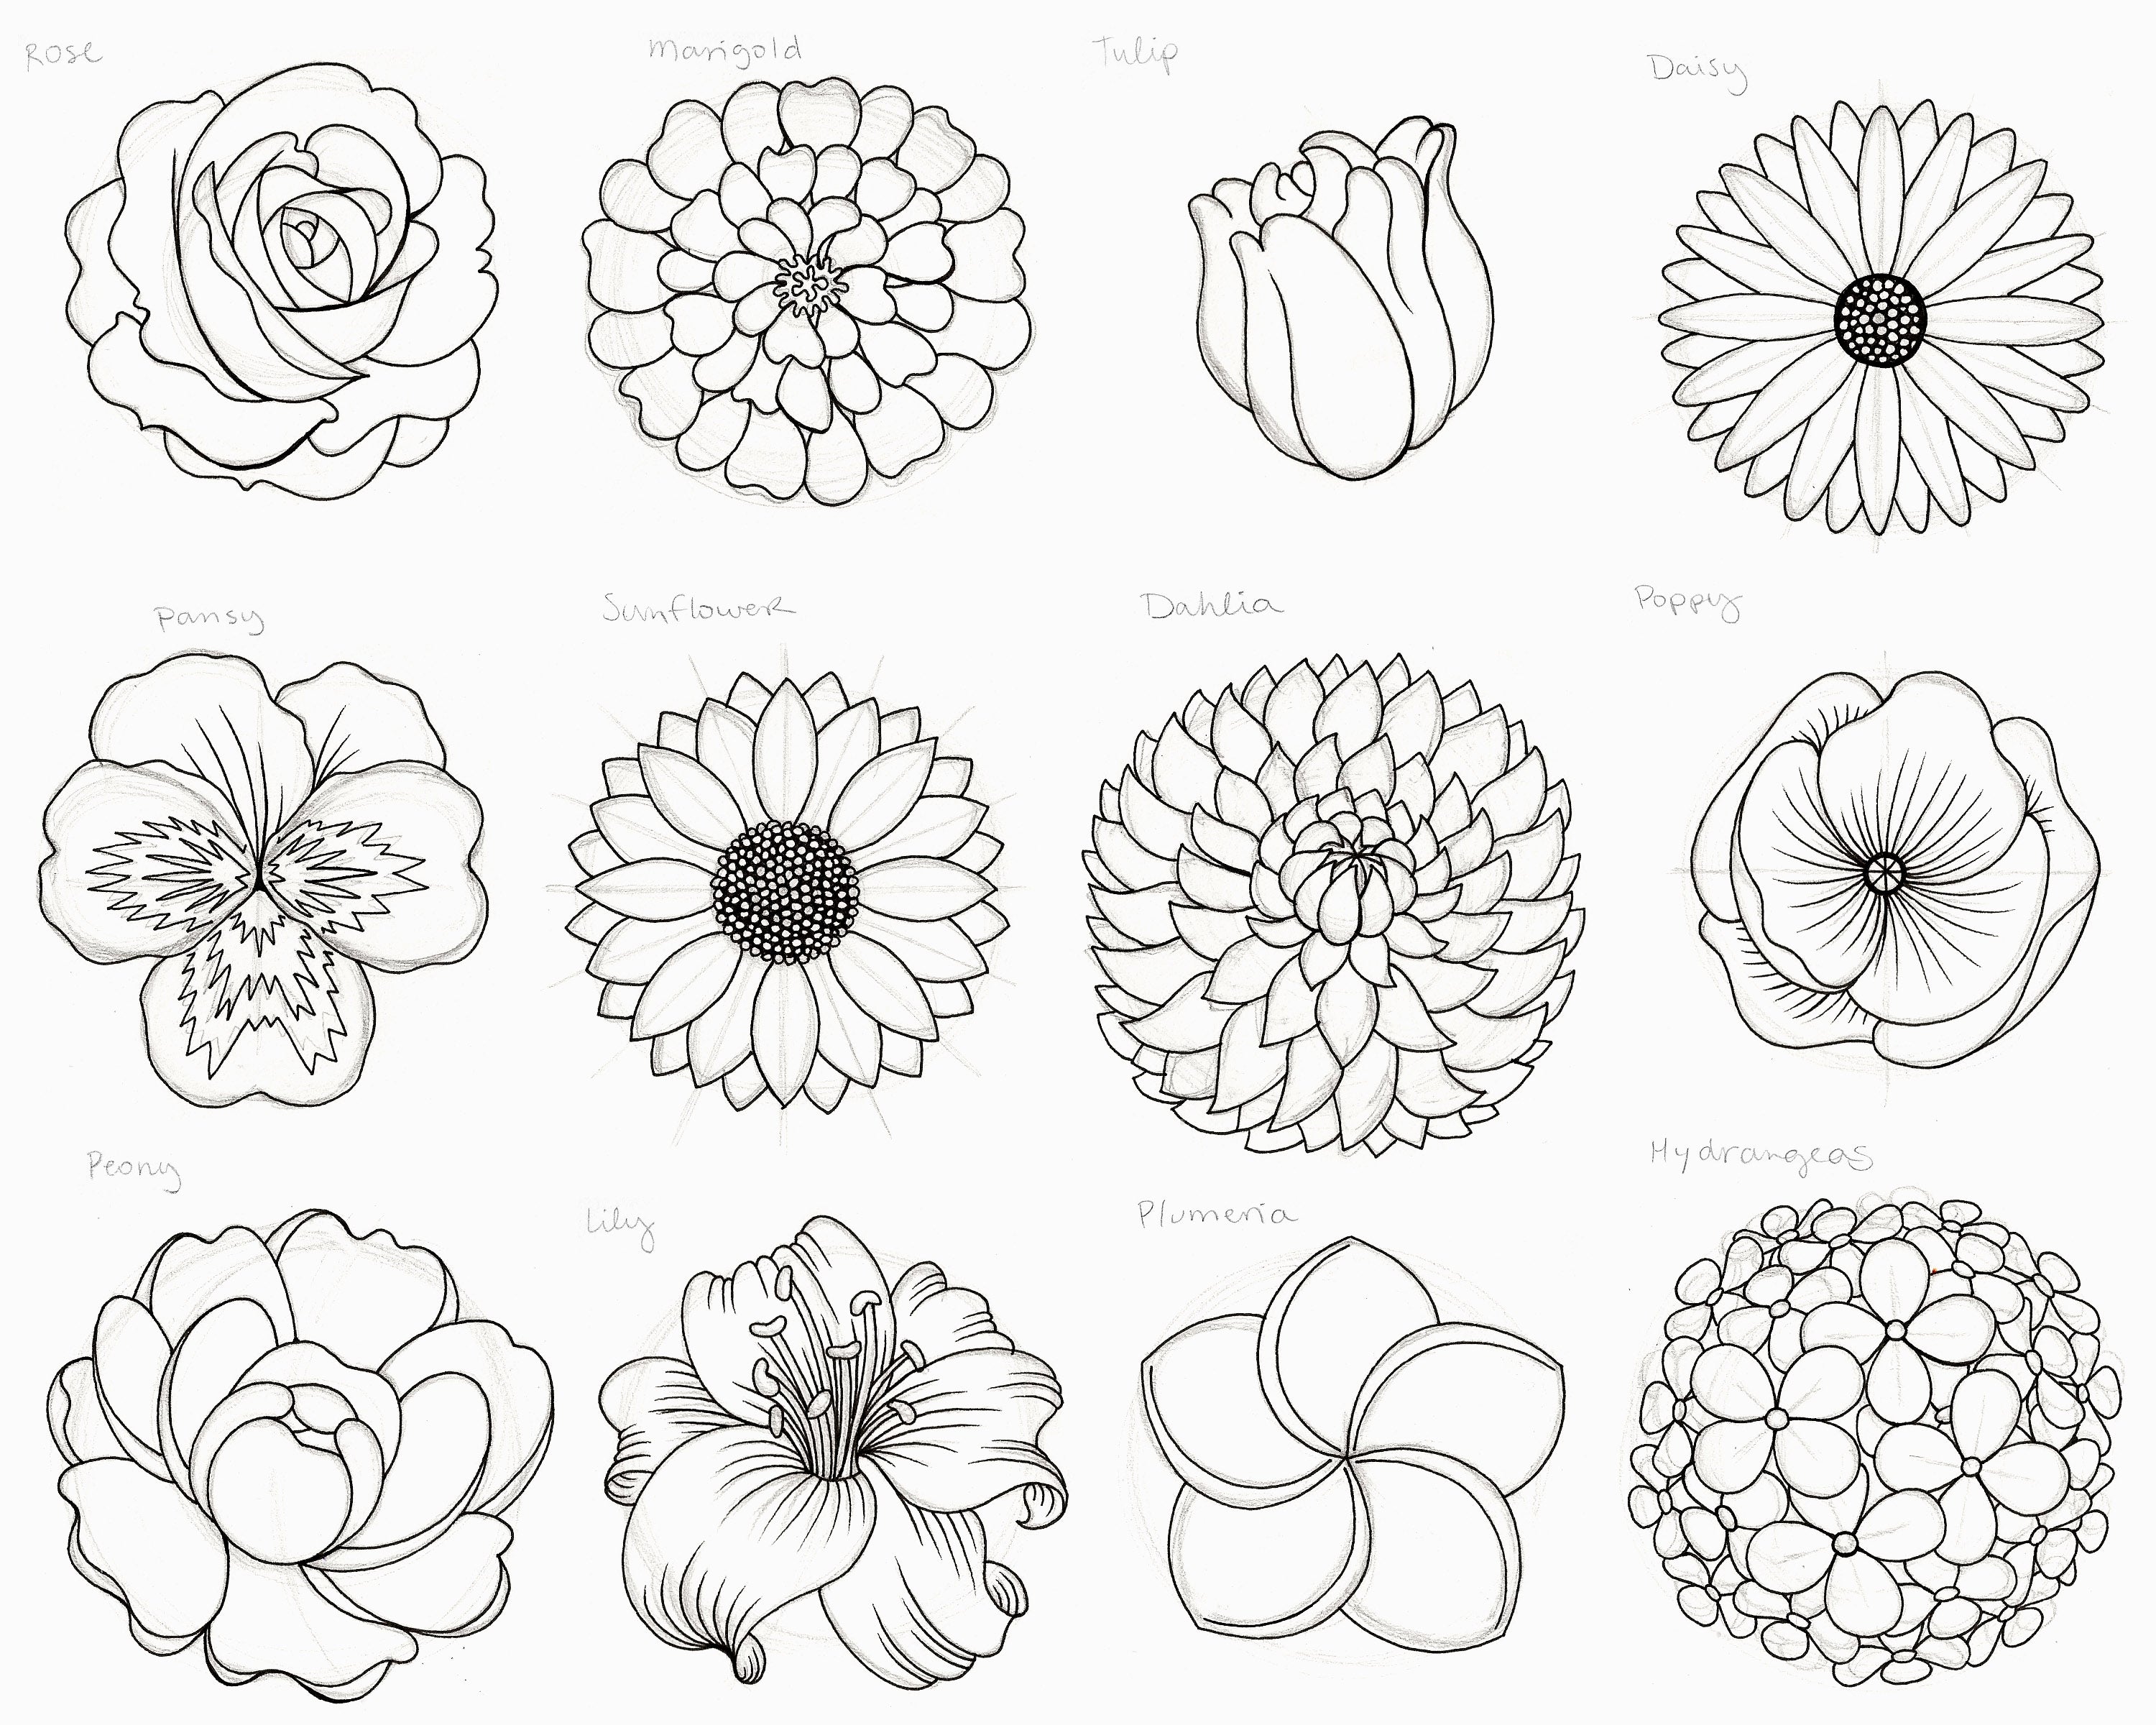
The first step in drawing these flowers is to find a good reference image for each one. You can use Google Images, Pinterest, or even take pictures yourself to refer to as you sketch! Once you’ve gathered these references, begin by loosely “mapping out” each flower shape. Above, I’ve lightly added circles, lines, and other general shapes that will build the flower’s “skeleton” to make the proportions accurate.
*Note: I am pressing my pencil very lightly to the paper as I sketch, since I will be erasing the pencil marks later. Also, I am using a mechanical 0.7 HB pencil.

The next step is to start adding petals! For some of the flowers, like the tulip and the poppy, there aren’t many petals to begin with/the flower has a simpler shape. However, for more complex flowers, like the dahlia, peony, and hydrangeas, there will be many more steps and details to follow!
Overall though, in this beginning step, loosely sketch the petals, erasing when you need to, capturing the general essence and shape of each petal. Don’t be afraid to study your reference image as well!

The next step is pretty straightforward, keep adding more petals! For detailed flowers, like the marigold, dahlia, and hydrangeas, this means adding another “round” of petals. For simpler flowers, like the tulip, poppy, plumeria, and pansy, this means the flower is pretty much sketched out to completion at this point. If you’re a beginner to drawing, I would definitely recommend starting with these simpler flower shapes!

The step above is the final drawing step, making sure all the petals are added. Keep an eye on your reference image to be sure all of your petals have a natural shape and fold in an accurate direction. Noticing mistakes and correcting them while you’re still in the “pencil stage” is crucial to how the drawing will turn out when you add the non-erasable ink!
Now it’s time to add the Copic Multiliner pens! Above, I used a 0.5 Multiliner SP pen (this is the refillable version of the regular Copic Multiliner) to outline all the petals in what I call a “single pass” method, meaning each line was applied only 1 time. This single-pass method allows me to see what my flower petals look like before adding line variation and other details.
Be sure to take your time when outlining, especially if you’re new to drawing! If you’re right-handed, start with flowers on the left side of your paper and work your way across the page; that way, the chances of accidentally smudging your ink are slim to none! And if you’re left-handed, work in the opposite direction by starting with the flowers on the right.
Another pro tip: your paper isn’t glued to your desk! (at least, we hope it’s not!) It’s much easier to move your paper around than your hand, so twist and pivot your paper to whatever angle is most comfortable for your drawing hand when outlining. This will help you a lot when drawing a line in a single-pass without having to lift your hand up!

The next step above is pretty simple: I waited at least 30 seconds to make sure the pen ink was dried, then I used my eraser to erase all my sketching lines. That’s it! :) But doesn’t each flower look more crisp and defined now that I erased my initial sketches?! This simple step helps clarify each shape, so when we move on to the next step (adding details), it’ll be easier to see where those details need to go!
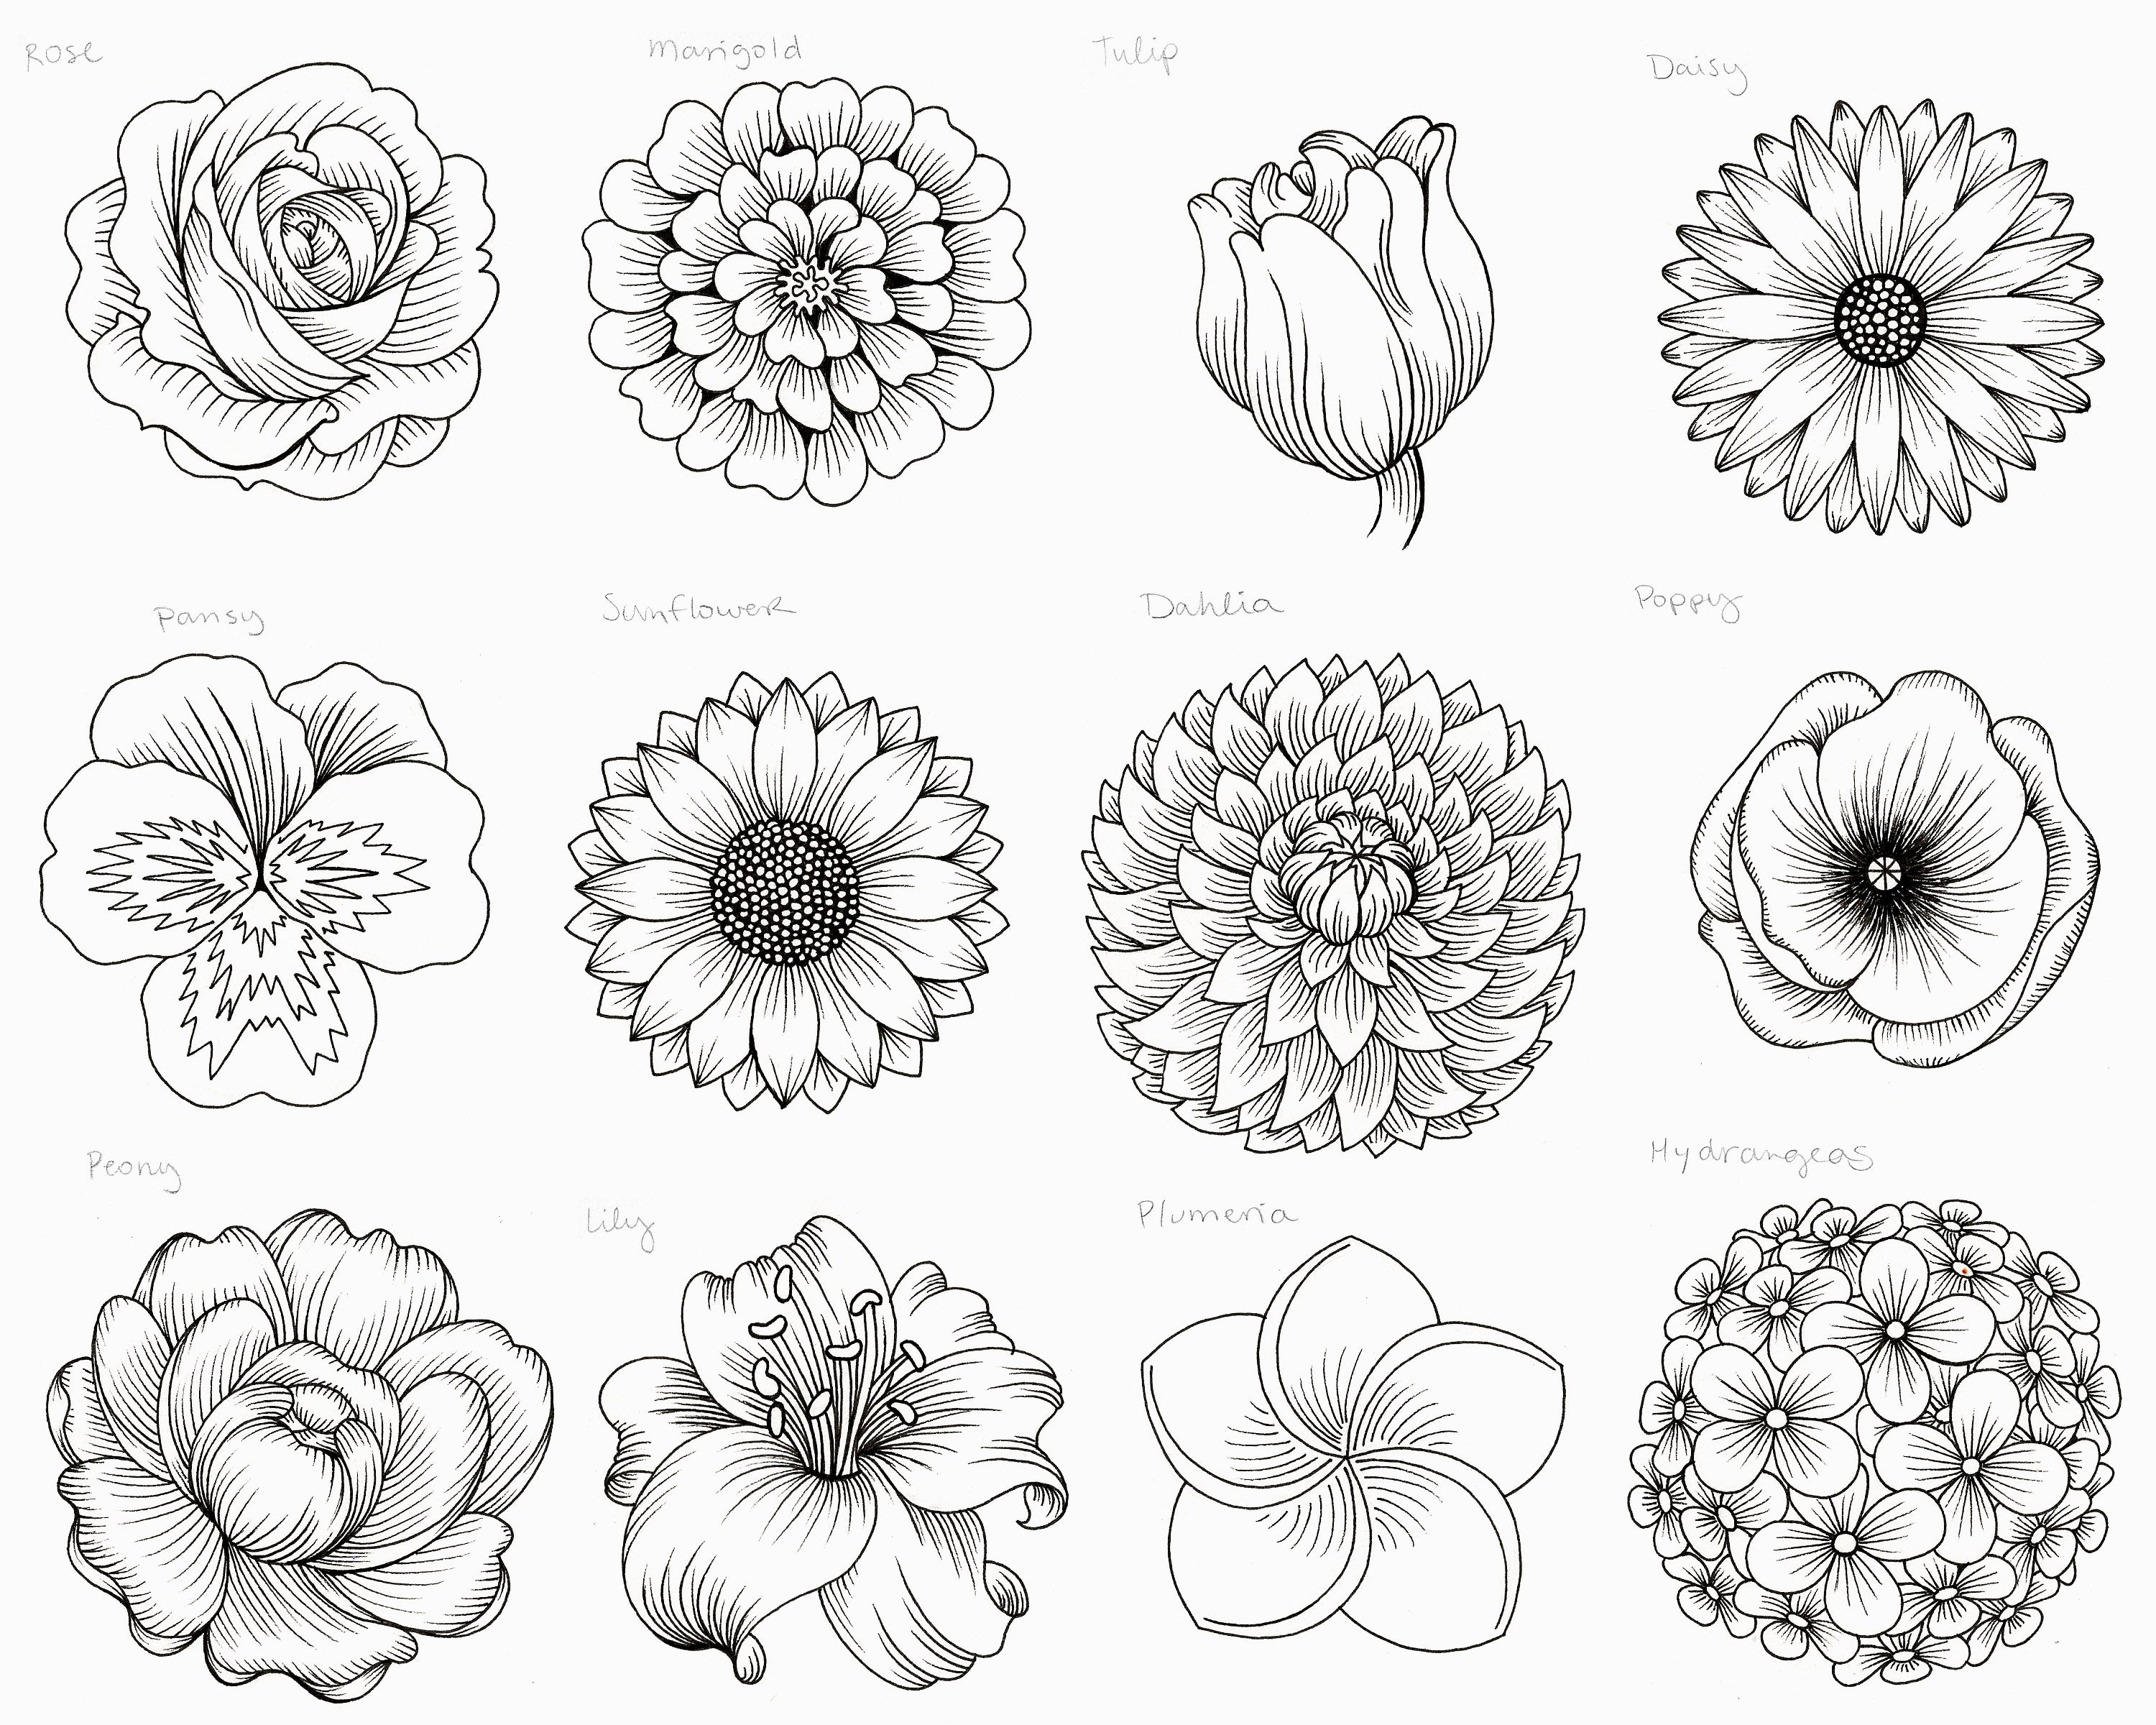
As mentioned above, this step is all about detailing! I am still using my 0.5 Copic Multiliner SP pen for this step, using the same flicking technique I use with my Copic markers, but with my pen! In the areas of the flowers where the petals overlap with one another, I’m adding lines to create depth. I never add lines across the entire shape of a petal, but rather, I flick the pen to a comfortable level away from the darkest areas of each flower/shadow. However, always refer back to your reference image(s)! Those will help guide you as to how far each shadow line should go.

The 8th and final step is to create line variation, which means that I used a pen one size larger, 0.7, to outline each petal shape to make them stand out from the shading lines. This final step creates an optimal amount of contrast and makes each flower ready for adding color; which we will show how to do in our next blog!


The templates above can be downloaded and printed from our line art gallery on our website. Use the black-outlined flowers to practice your coloring in anticipation of our next blog, or use the gray-outlined flowers to practice your outlining using your Copic Multiliner pens!
Stay tuned for our next blog, where we’ll be showing how to color 6 of these flowers in detail!
Read More Articles
The Best Papers for COPIC Acrea
How to Layer with Acrea on Various Types of Paper Hello Copic readers! In our previous blog, we wrapped up our discussion on how to use ...

Copic Acrea with Copic Ink
How can Acrea be used with Copic Ink? Greetings Copic readers! In our previous blog, we discussed how Acrea compares with Copic Multil...

Copic Acrea with Multiliners
How does Acrea compare with Copic Multiliner Pens? Greetings Copic readers! In our previous blog, we discussed how Acrea compares to the ...

Copic Acrea with Copic Markers
How does Acrea compare with Copic Markers? Hello Copic readers! In our previous blog, we introduced the NEW Copic product; the Acrea pa...


