


TREES, stylized
15-01-2023
Nature Series: How to draw stylized, folk-art inspired trees
Today’s Feature: Illustrative Trees!

Happy 2023! We concluded our 2022 blog series by showing how to color six different tree shapes with Copic markers. Today, we’ll be continuing with the theme of trees by showing you how to draw and outline stylized trees and other various foliage shapes! So, without further ado, let’s get started by grabbing a pencil, eraser, a few sheets of marker paper, and our Copic Multiliner pens!

To get started drawing these stylized trees and plants, you’ll want to create LOOSE, general shapes first. For the various trees that are seen in the above sketch, I began with the tree trunks by drawing a vertical line, followed by two narrow lines alongside it. Then, I drew the general outline of each tree or bush by choosing from a variety of common shapes: circles, domes, triangles, rectangles, cloud-like/flower, and other miscellaneous shapes that I saw fit. Feel free to improvise and create more complex shapes if you want!

Once I had loosely sketched each tree and bush, I added details inside some – but not all – of the tree and bush shapes. I did this to create variety, which will be important to remember for our next blog, where we’ll be showing how to bring all of these different trees and bushes together to create a forest drawing!
*Tip: If you’re confused as to what kind of details you should add to the trees, look up reference images, take a walk and gather photos of plants and trees around your neighborhood, or search nature illustrators online and see what the masters are doing! Professional artists are a great source of inspiration!

The next thing you’ll want to do is outline everything with your Copic Multiliner pen! As you can see in the above image, I didn’t trace over all of my pencil sketches exactly, some shapes I shortened, lengthened, or modified in some other way, so don’t worry about being exact in your tracing! One of the reasons drawing by hand is so much fun is because of the “human” characteristics you can see! So embrace any wonky lines and small imperfections you may come across in your outlining; that’s what makes us perfectly human!

Last but certainly not least, you’ll want to erase all your pencil marks, but only after the ink has dried!! This is a VERY important step, waiting until the black ink on the page dries; because if you erase before it’s fully dried, that’s when you’ll see smudges (and no one wants that!). After your pencil marks are erased, you’ve completed this step-by-step blog!


For those of you reading who would like to practice more of your outlining, feel free to print either or both of the above 8.5 x 11 inch templates (also found in our line art gallery) on marker paper at home. Practice tracing over each of the tree and shrub shapes, not pressing too hard to the paper and doing your best to draw a line in a single-pass, meaning in one stroke. It’s a skill that takes some practice to master, but that’s what the templates are here for, so print them as many times as you see fit!

That wraps up today’s blog! Please share your creations with us using the hashtag #CopicWithUs, or tag us @CopicOfficialUS on all social media platforms.
Stay tuned for our next blog, where we’ll continue our exploration of trees and shrubbery by showing how to compose, draw, and outline a forest illustration! Until next time! 😊
Read More Articles
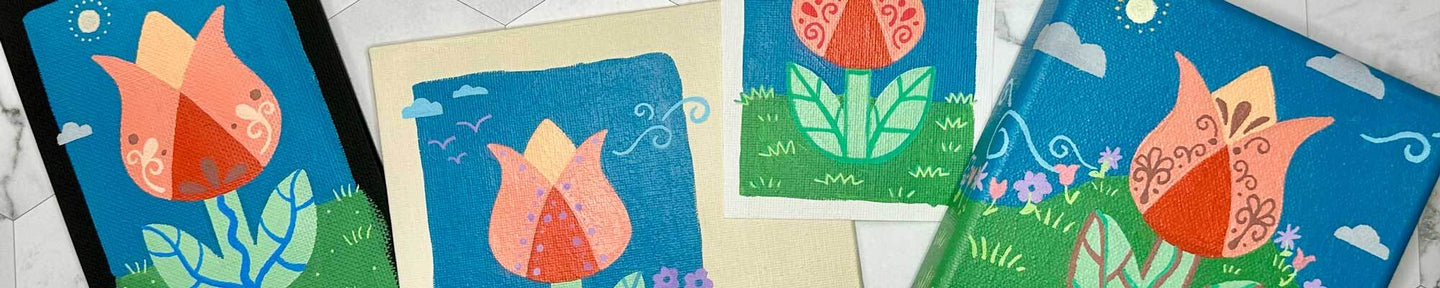
Copic Acrea on Canvas
How to use Acrea on various types of Canvas Hello Copic readers! In our previous blog, we wrapped up our discussion on how to use Acrea o...
The Best Papers for COPIC Acrea
How to Layer with Acrea on Various Types of Paper Hello Copic readers! In our previous blog, we wrapped up our discussion on how to use ...

Copic Acrea with Copic Ink
How can Acrea be used with Copic Ink? Greetings Copic readers! In our previous blog, we discussed how Acrea compares with Copic Multil...

Copic Acrea with Multiliners
How does Acrea compare with Copic Multiliner Pens? Greetings Copic readers! In our previous blog, we discussed how Acrea compares to the ...


