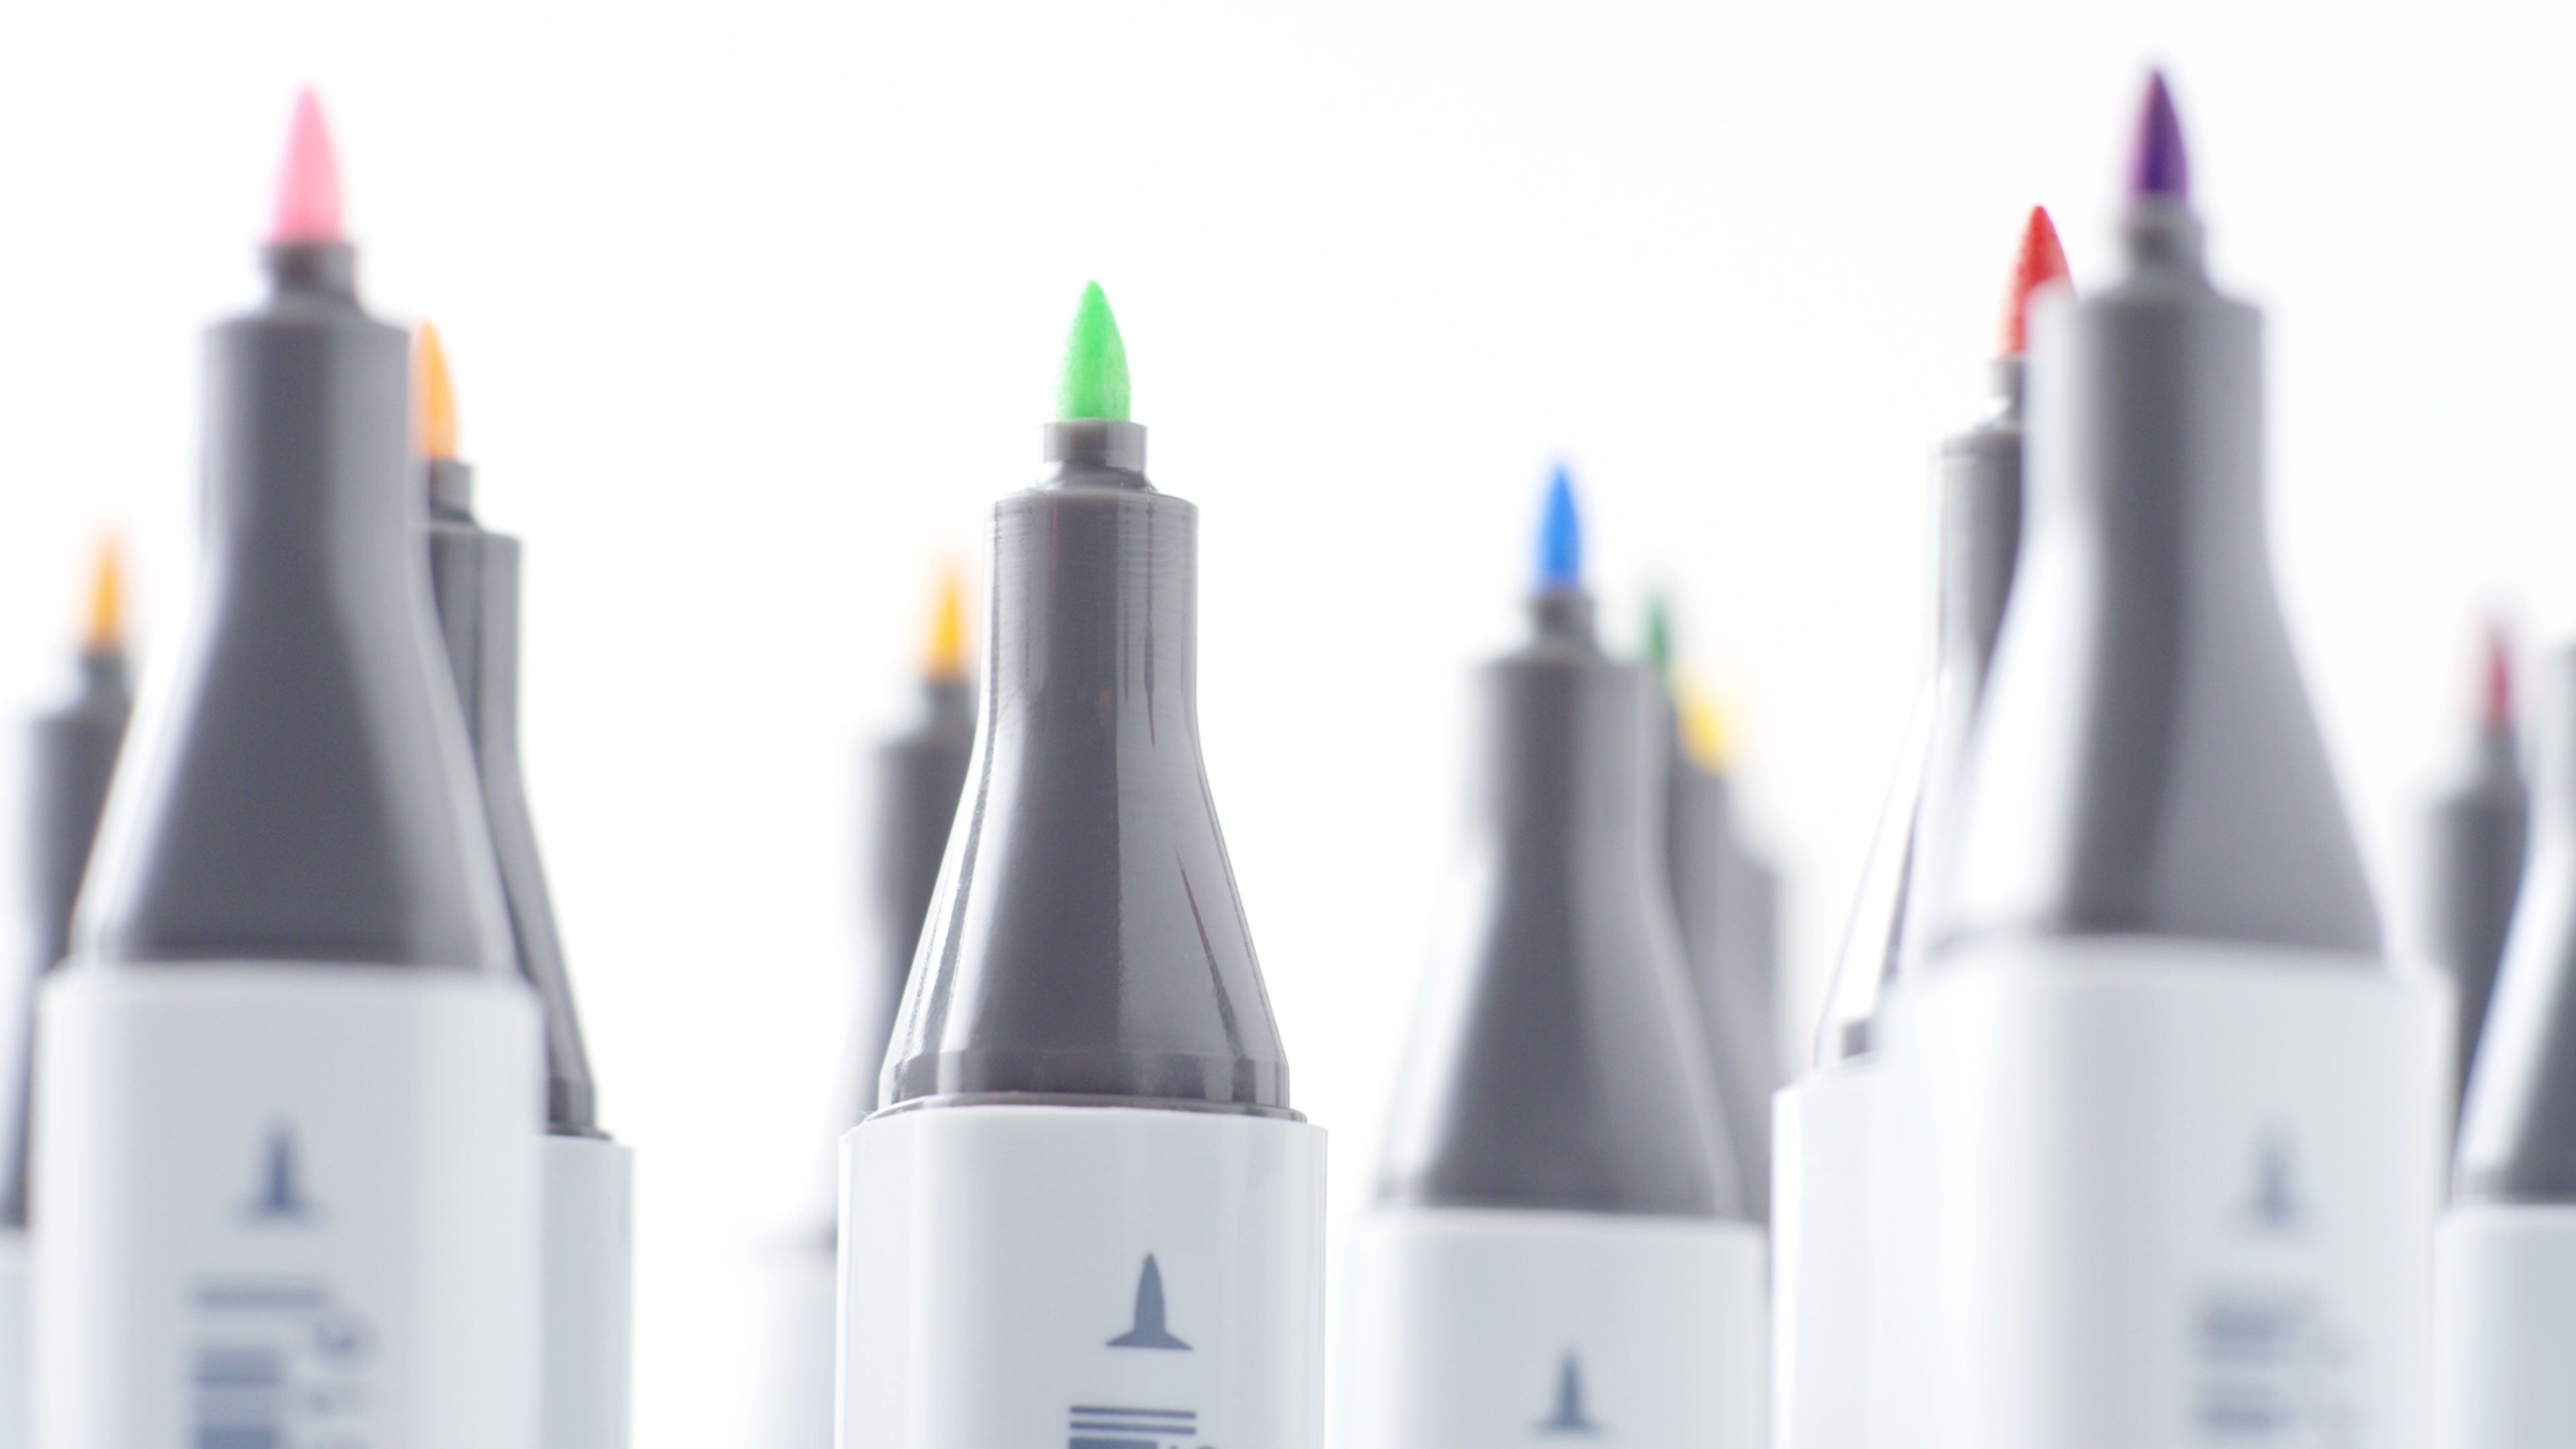
Intro to Copic Classic 2
18-11-2021
Copic Classic: 1 marker,
endless possibilities!
How to use the Standard Broad and Standard Fine nibs, how to blend
without a brush nib, and examples of art using Classic.
without a brush nib, and examples of art using Classic.
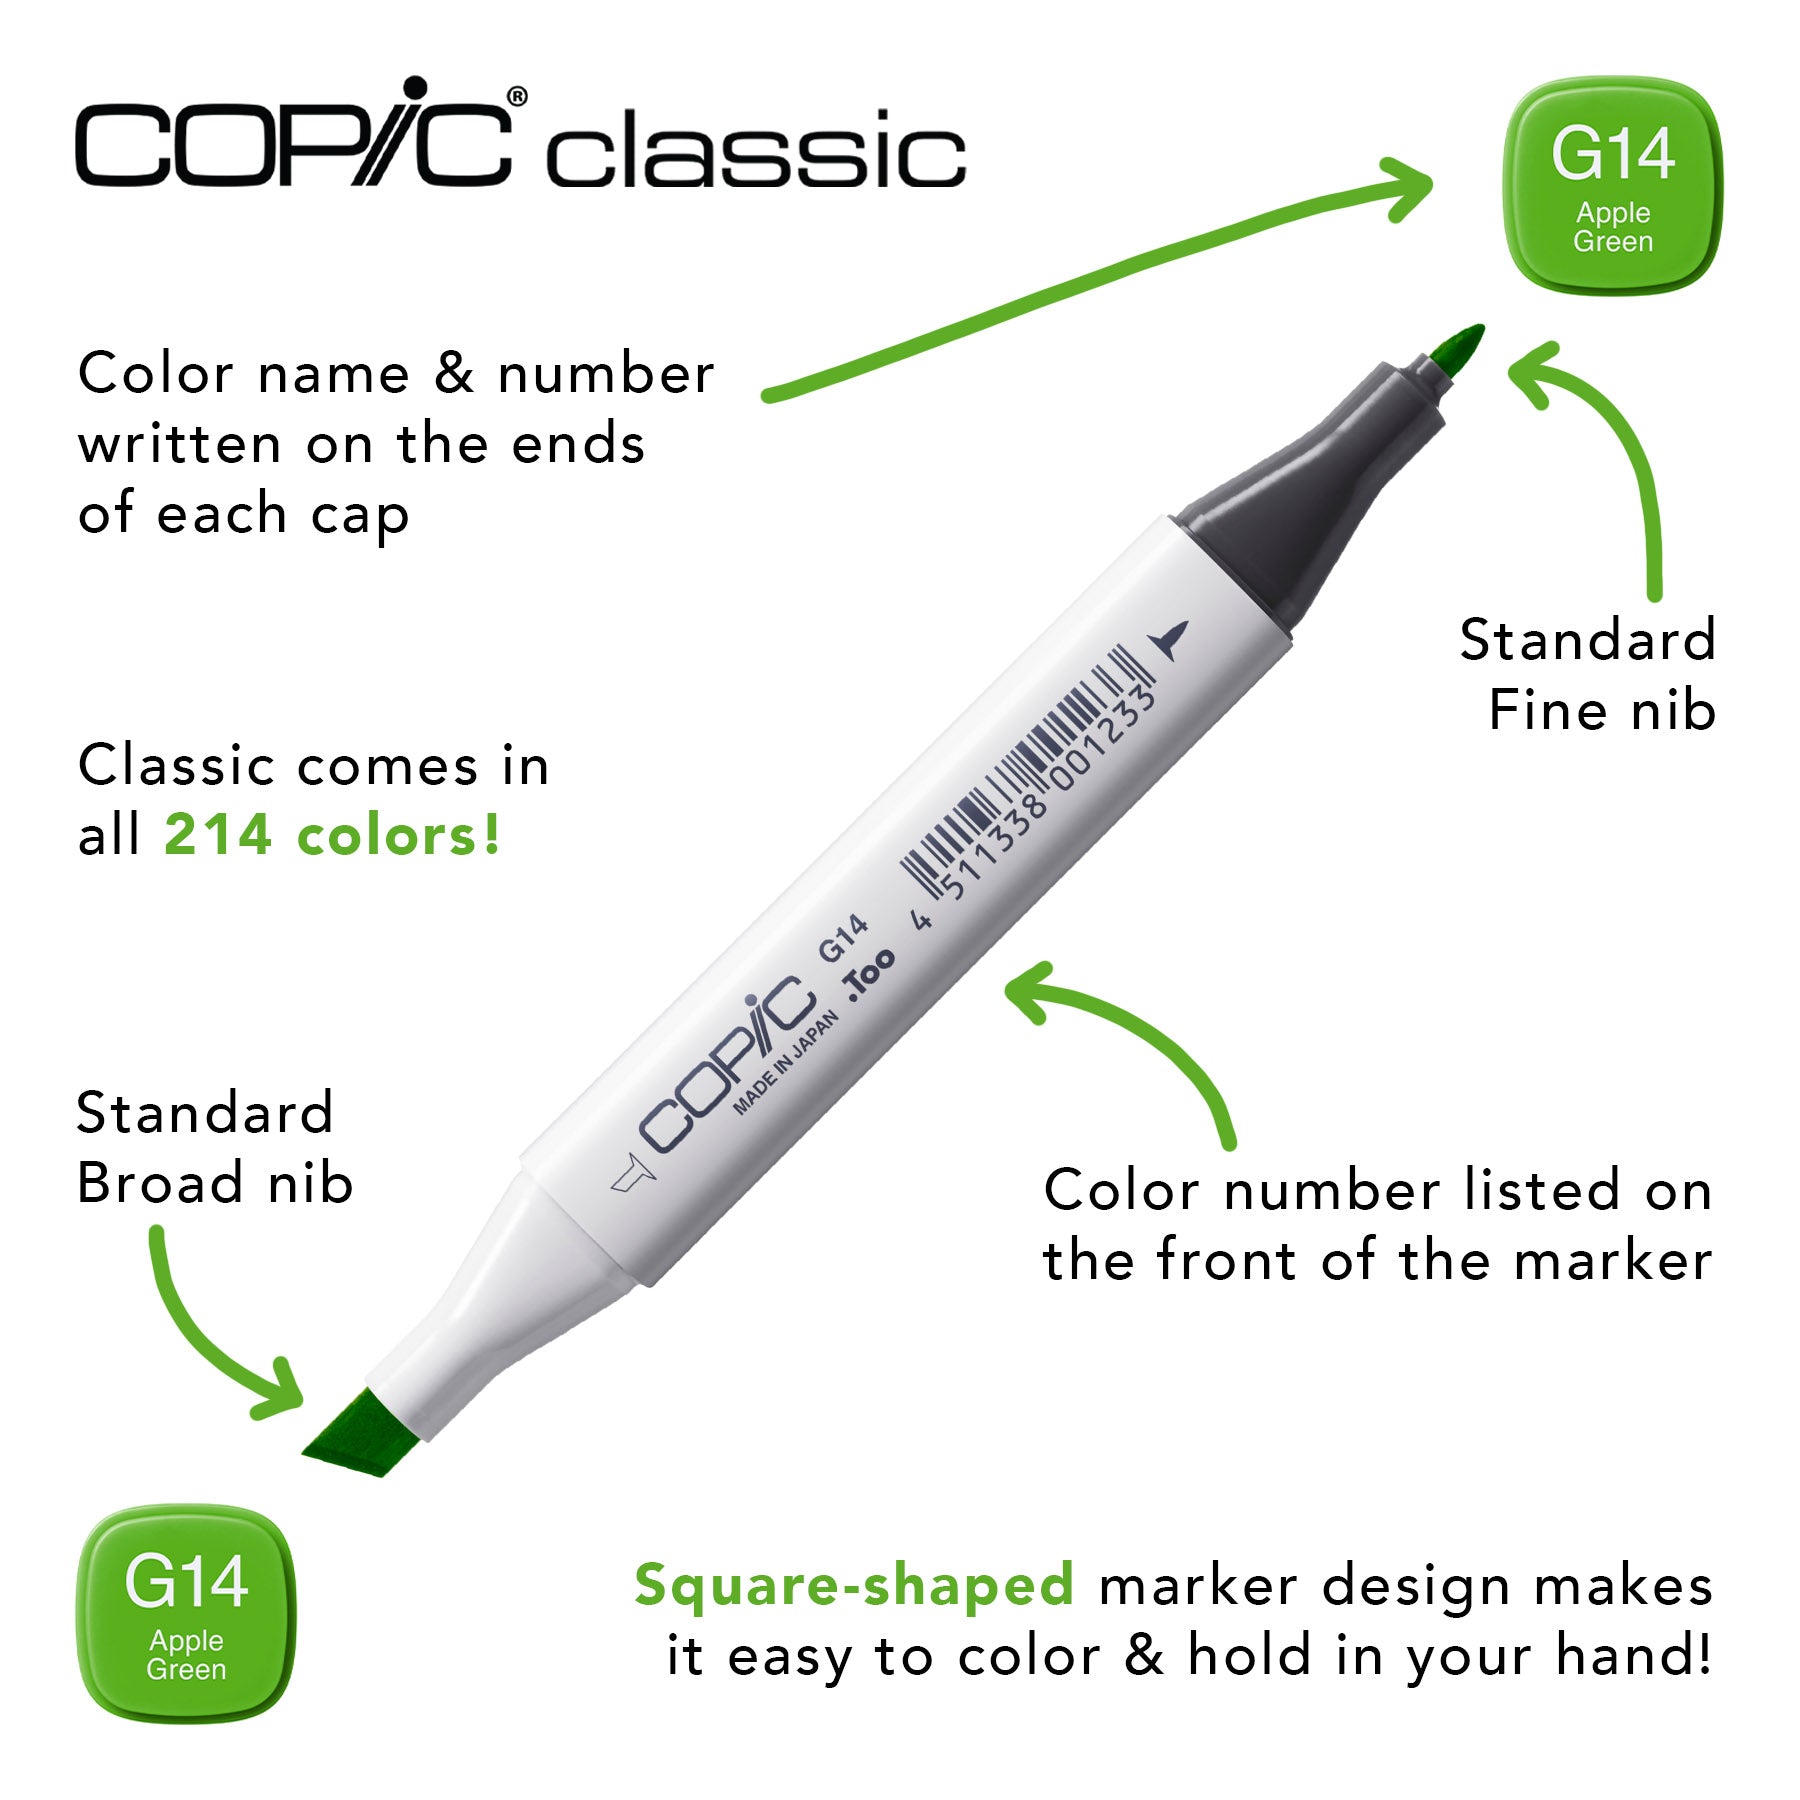
The Classic marker, or “the Original” marker comes with the Standard Broad and Standard Fine nibs. With these 2 nibs, you can make a wide variety of marks! Take the Standard Broad, for example; you can use the long, flat side of the nib to get broad, even strokes...

...or you can use the top of the Standard Broad nib to make consistent, “skinny” strokes.

The opposite side of the Classic marker has the Standard Fine nib. This nib is perfect for detailing, especially with darker pigments on top of the smooth coats of lighter colors that were applied with the Standard Broad nib.
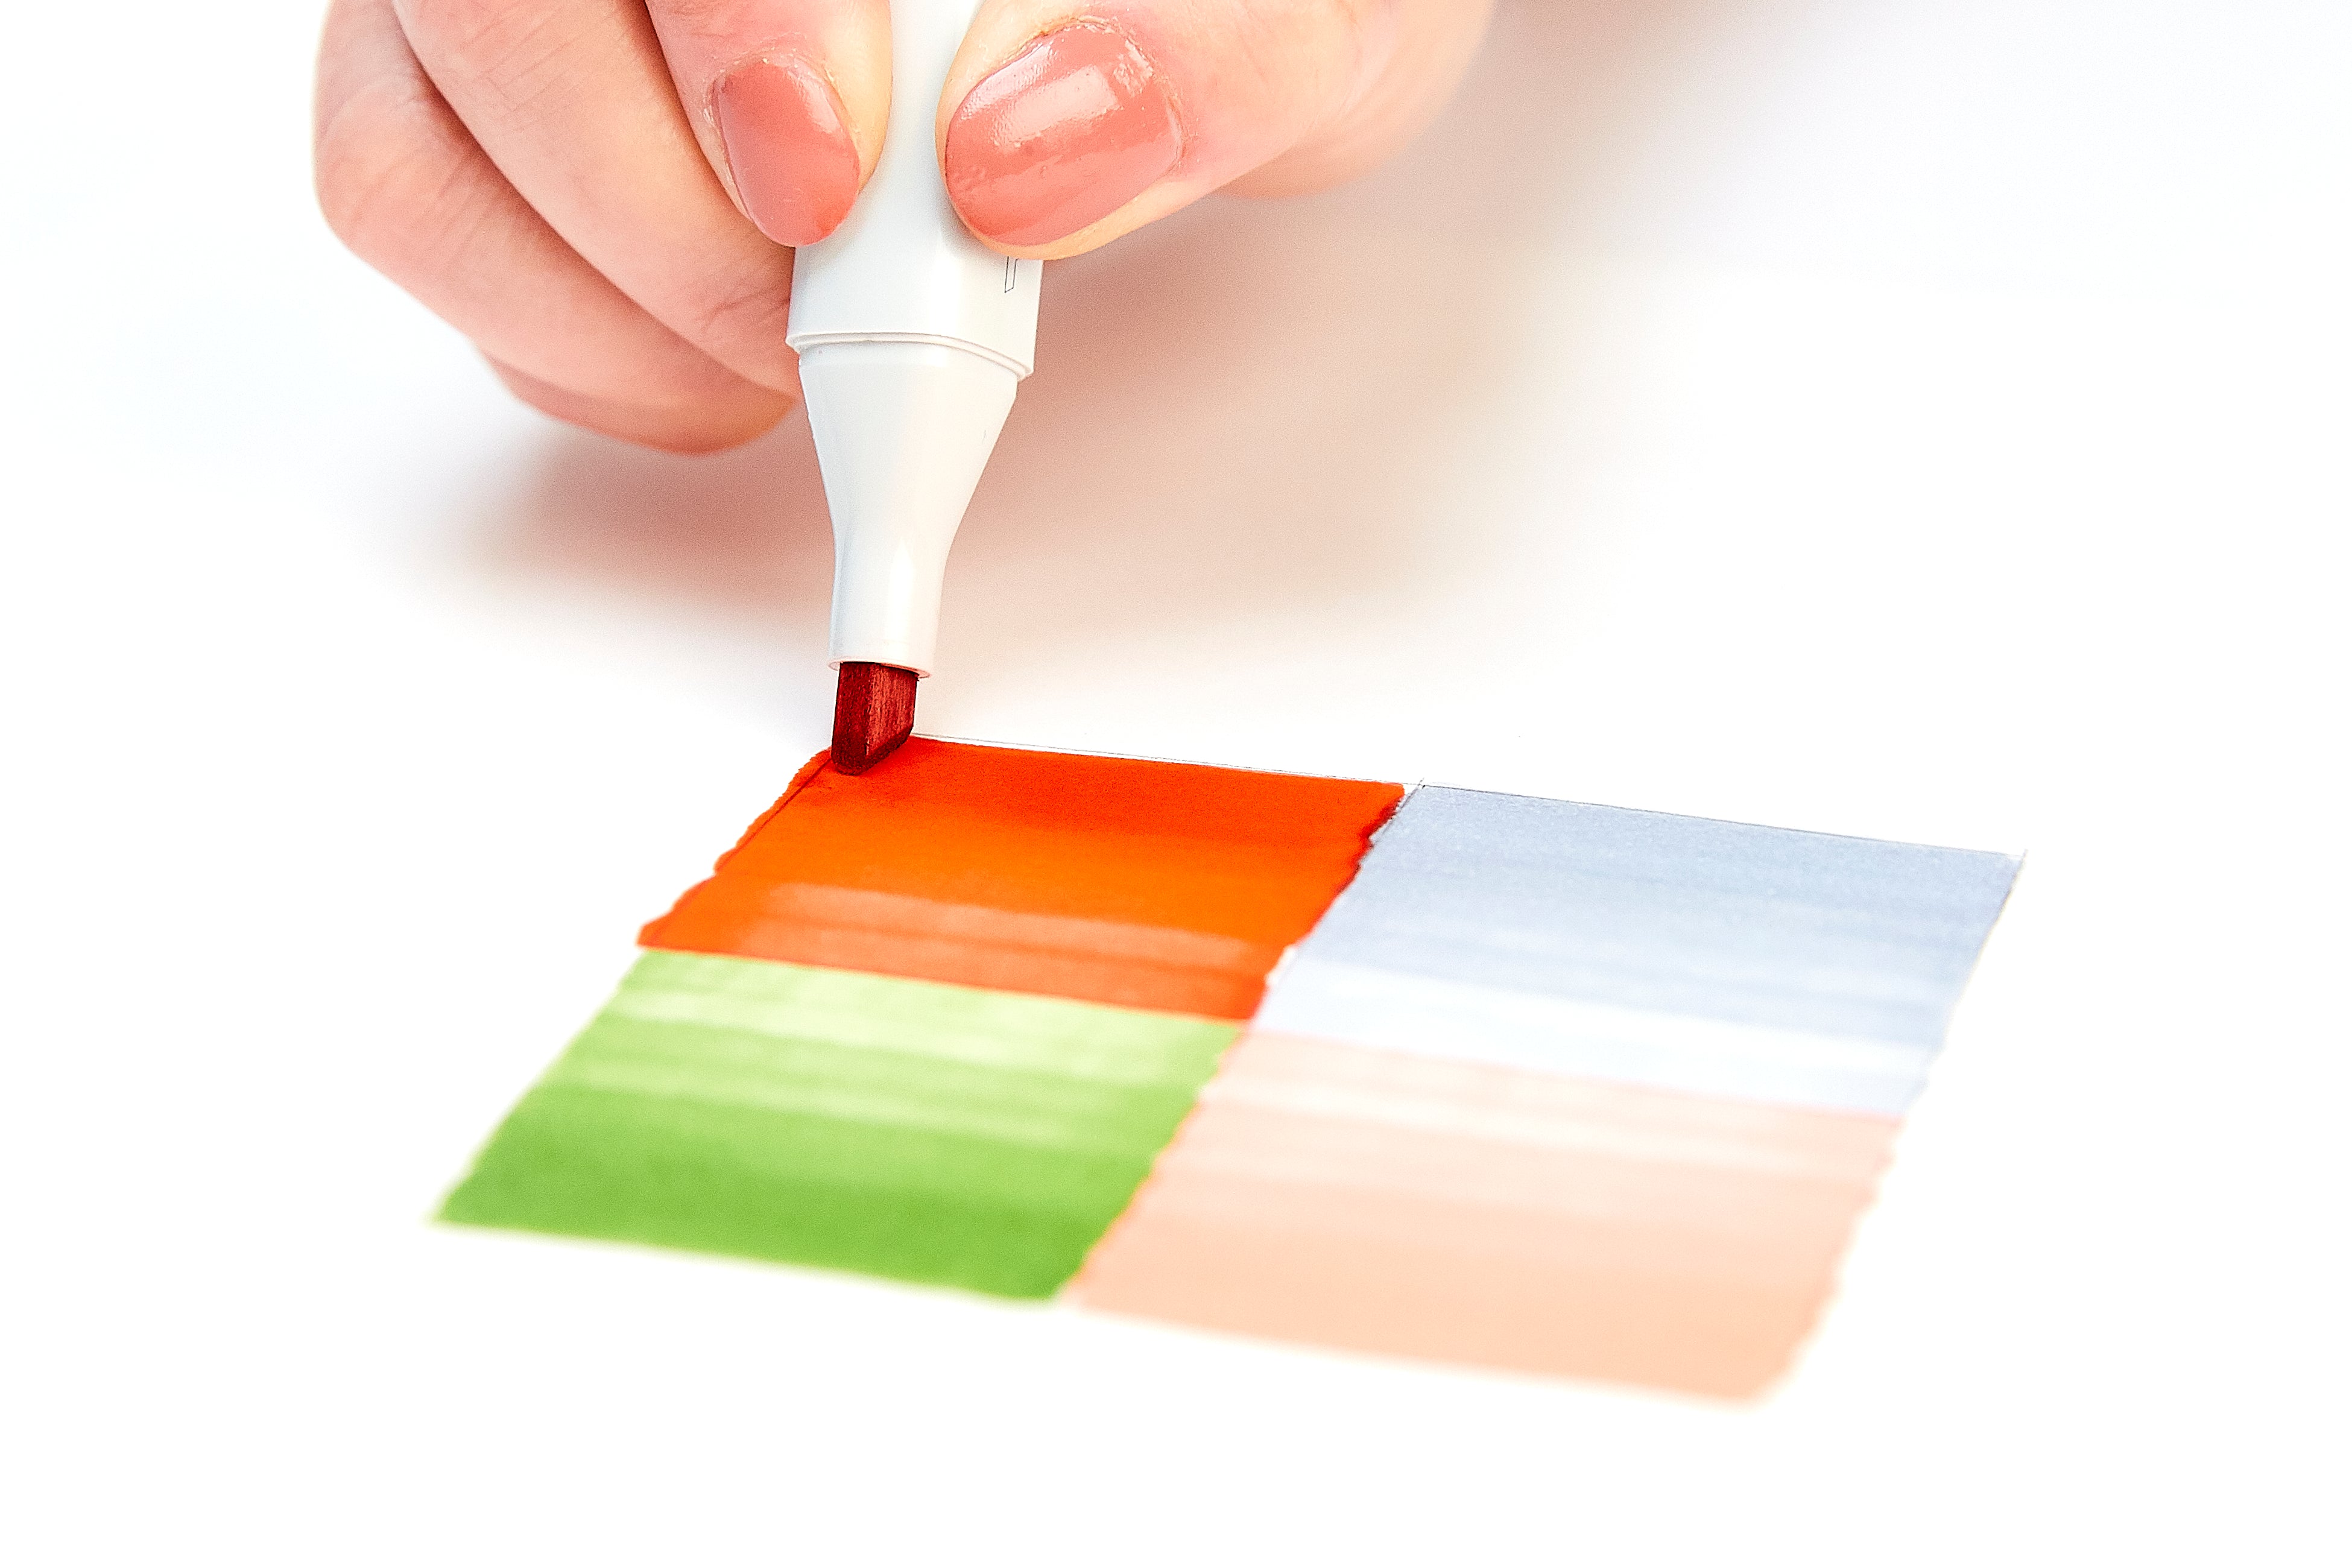
One of the common misconceptions about the Classic marker is that you can’t achieve smooth blends with it because it doesn't have a brush nib. This couldn’t be farther from the truth!
The Standard Broad nib is able to achieve smooth blends by following the same blending technique as the Sketch or Ciao: by layering.

In the example above, you can see how the artist starts off with a light yellow color (like Y11), then adds a darker yellow (Y15), then a light orange (YR04), a mid-tone orange (YR15) and lastly, a pronounced red (R17). By layering one color on top of the other, a smooth blend is able to be achieved. In addition, if you go over your darker colors again with a lighter one, the darker pigment will be reactivated (which is what alcohol inks naturally do) and blend fully into the lighter color.
If the Standard Broad nib still scares you, then there’s an optional brush nib specifically designed for the Classic marker! This nib is a substitution for the Standard Broad and should be inserted on the same side as that nib. This optional brush nib comes in a pack of 3, as seen below.

Now that you know more about the nibs of the Classic marker and how to blend with them, let’s take a look at some artwork made by using only Classic! Notice how you can make beautiful sketches using the natural tendencies of the marker showing the streaks and how you can make exquisite renderings by layering and adding mixed media on top, such as colored pencils or graphite.

Above interior design sketch by Sergei Tihomirov. He capitalizes on the streaky and expressive look of markers to create a beautiful interior scene!

Above car illustrations by Nigel Muller--look at how he was able to create reflections in the smooth metal textures of the vehicles!

Above chair illustration by Patrick Christian. He was able to make a shiny metallic texture by layering and blending Cool Grays together!

Above fashion illustration by Mayumi Sakamoto--look at how she’s able to achieve texture by using Classic and colored pencil on top!
There’s so much you can do with Copic Classic! Share your sketches and illustrations by tagging us @copic_official_us on Instagram and using the hashtag #copicwithus. We can’t wait to see your creations!
Read More Articles
09-04-2025
Writing with Acrea, Manuscript Letters
Greetings Copic readers! In our previous blog, we compared the properties of Copic alcohol markers (Sketch, Ciao and Classic) with Copic...

25-03-2025
Using Acrea and Copic Markers Together
Greetings Copic readers! In our previous blog, we compared the properties of Copic alcohol markers (Sketch, Ciao and Classic) with Copic...

12-03-2025
Copic Sketch vs Acrea
Hello Copic readers! In our previous blog, we showed how to color with the new acrea paint markers on dark, non-white backgrounds. Today...

26-02-2025
Copic acrea on Colored Backgrounds
Hello Copic readers! In our previous blog, we showed how to color with the new acrea markers using each of the four 6 pc sets. Today, we...